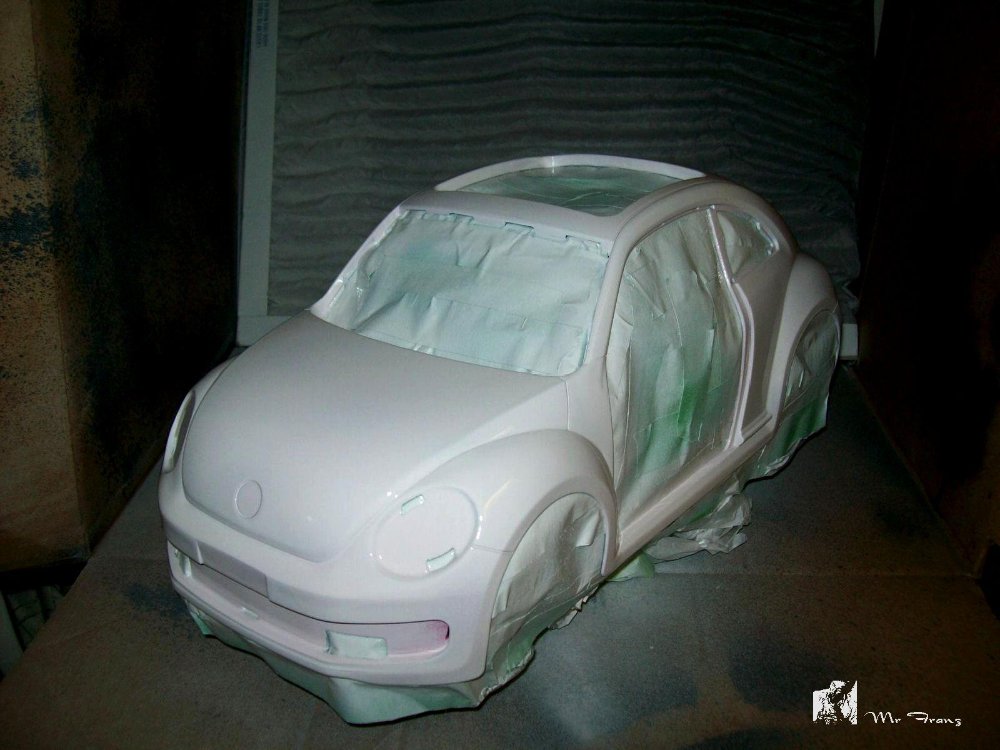
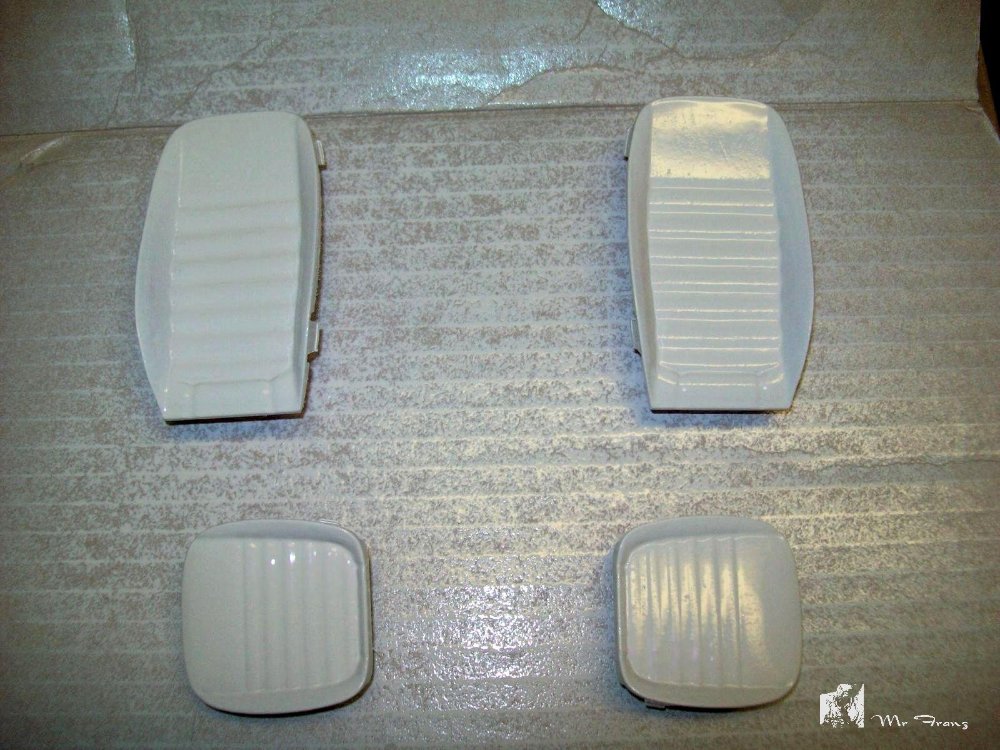
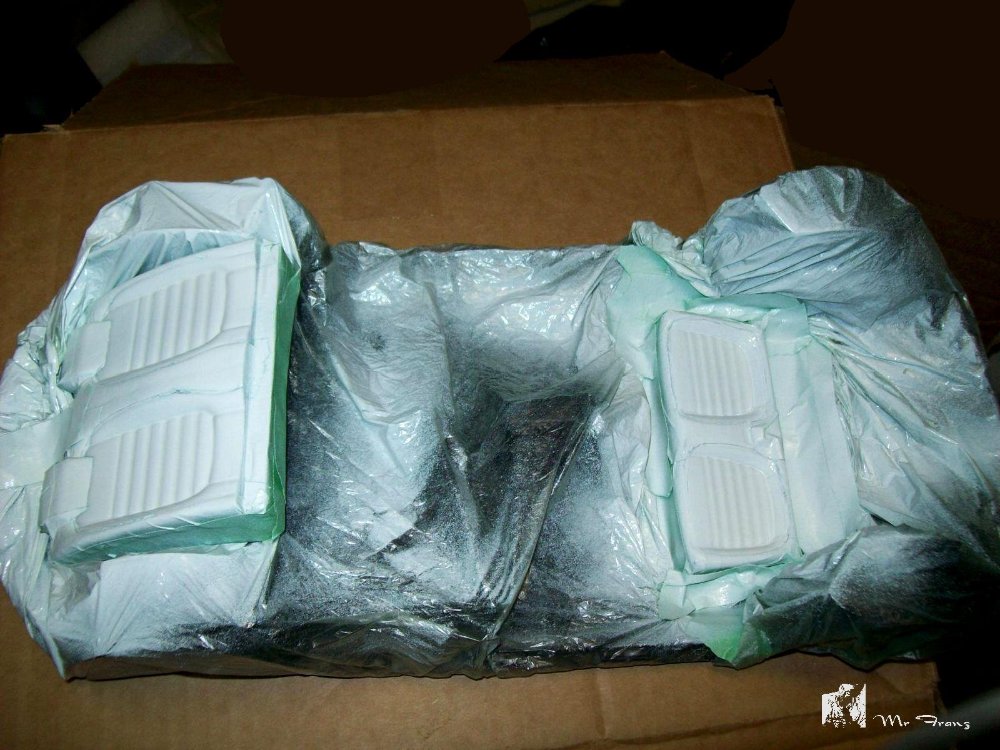
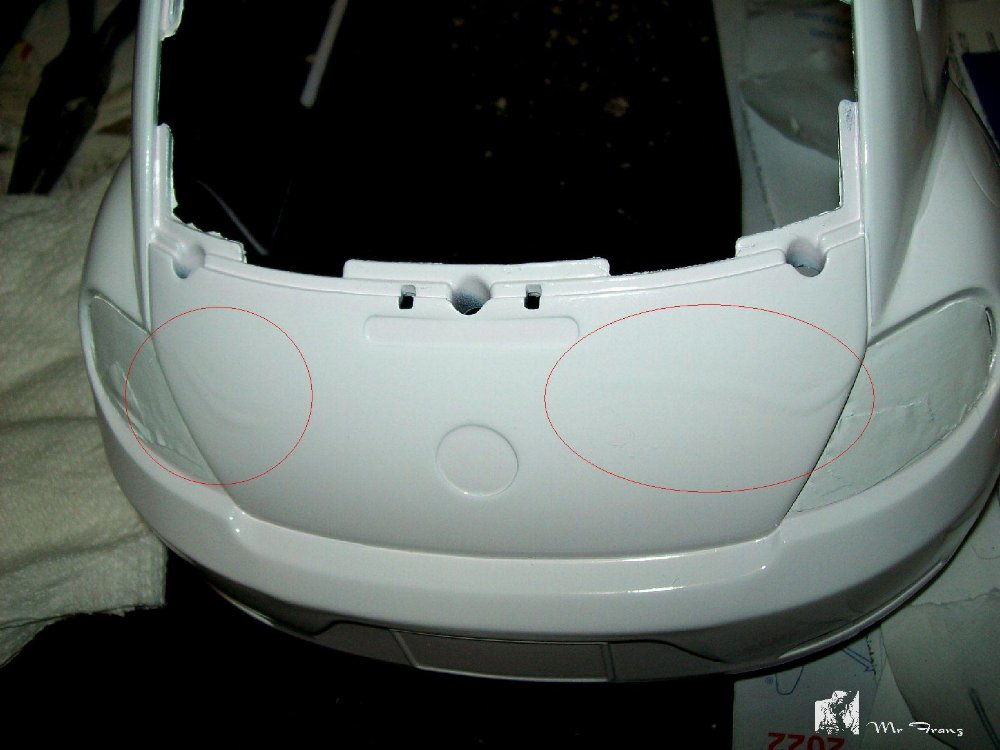
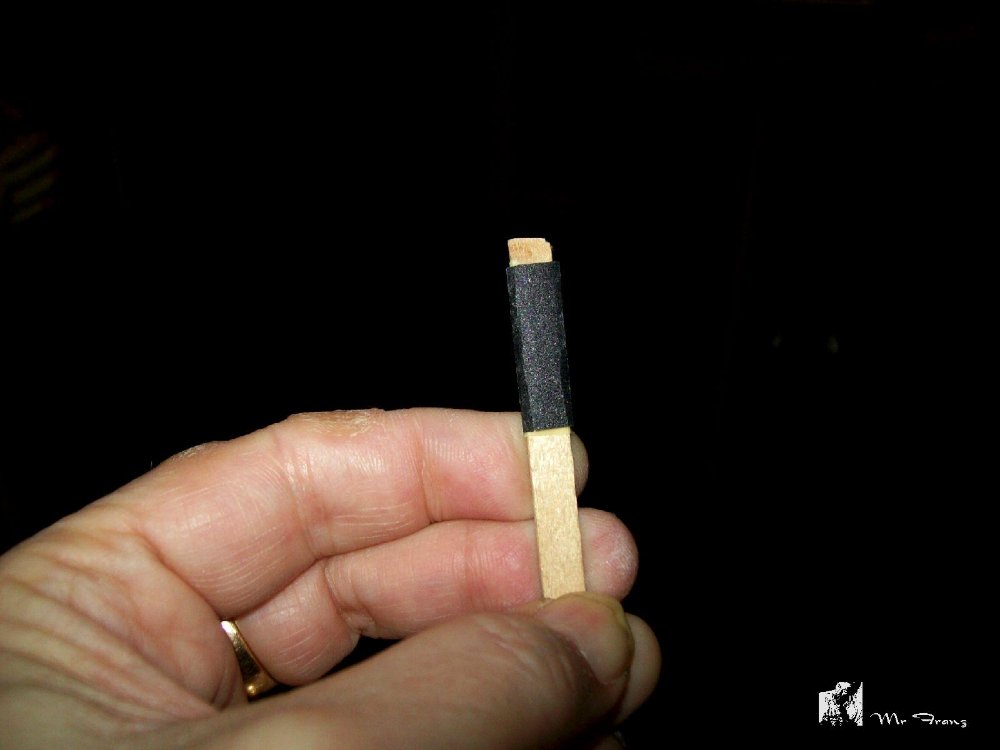
Alright onto one of the more tedious tasks of car restoration. Sanding and more sanding. 😵💫
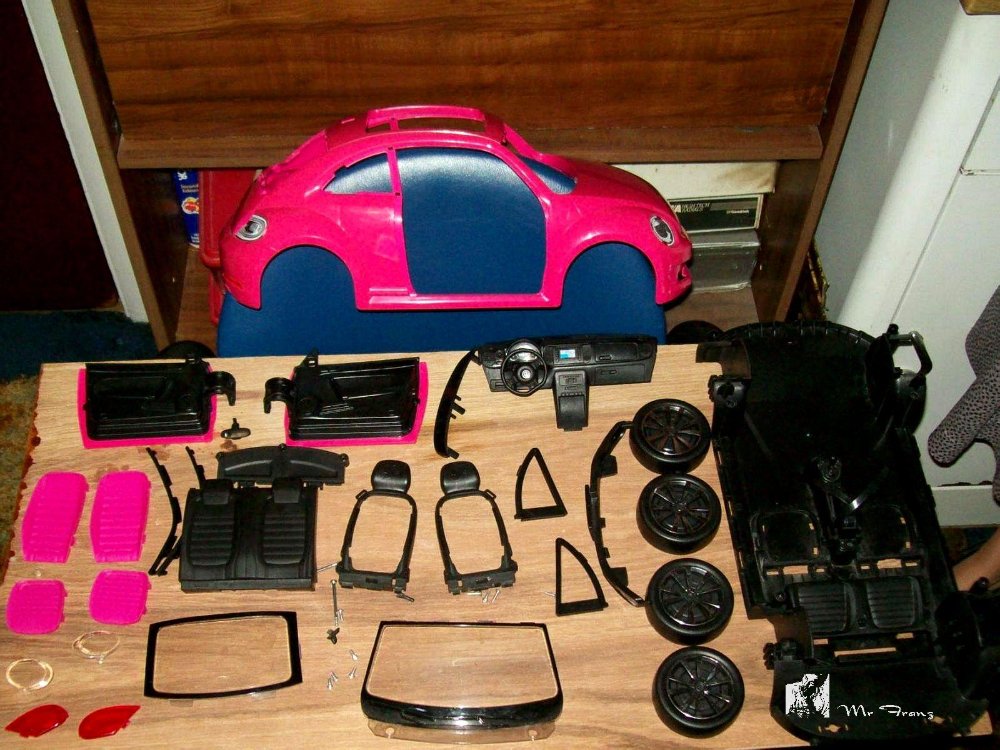
Sanding is an even more difficult task on small scale projects like this and the way Barbie cars are made complicates things a little further. Luckily Jhipri was kind enough to lend a hand. 🥰
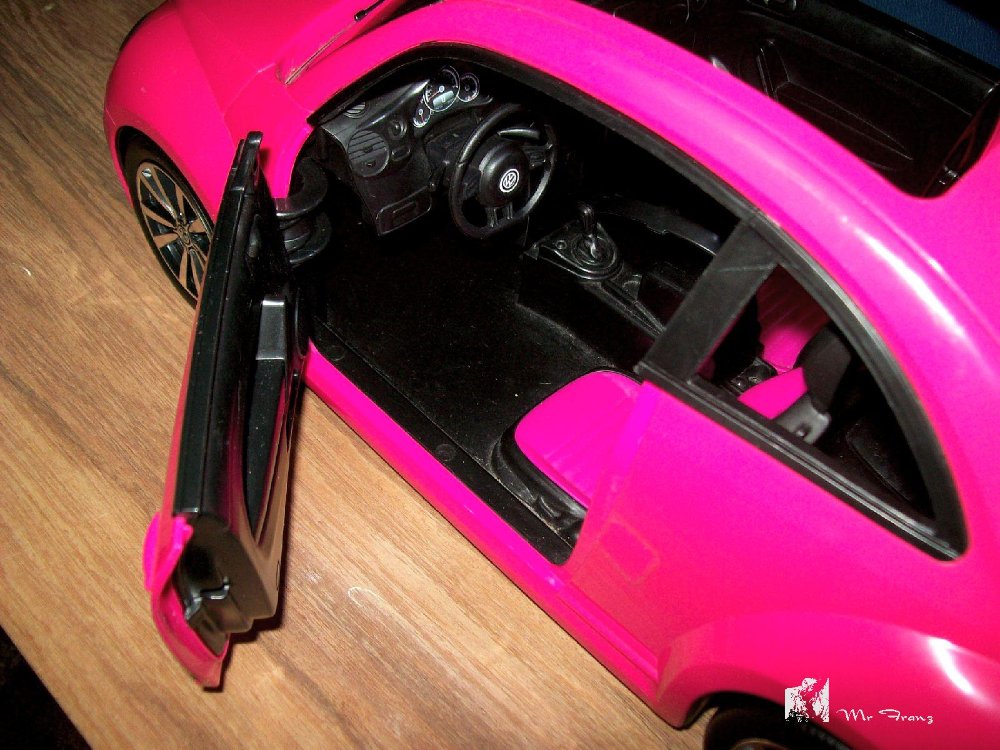
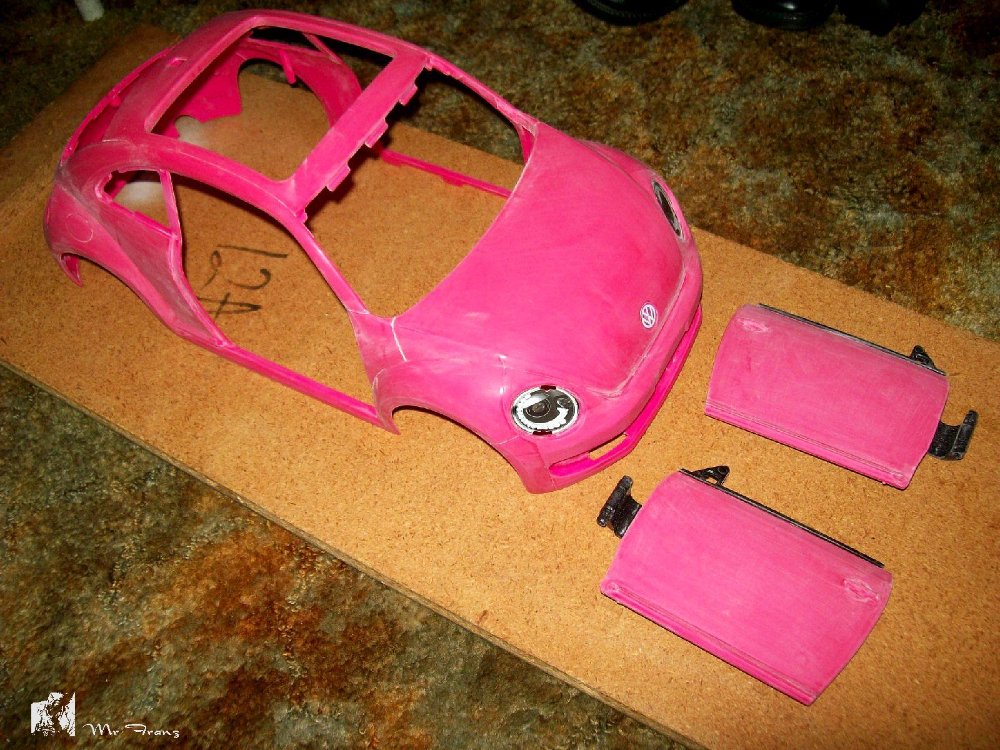
Normally, you just dull the shine with some 1200 grit sandpaper and your ready for paint, but for some reason, Mattel not only molds the plastic in pink, but also coats the outer surface with some sort of pink colorant! You can see the color difference in this pic where I had sanded before removing the decals.
I suspect they use some sort of acrylic that's applied before the the plastic fully cures, making for a permanent bond. Great for kids to beat the hell out of, but hell to get off again and I know from past experience, enamel won't adhere to it and lacquer checks badly unless you do. Luckily it's not very thick. The underside of the body doesn't seem to have that problem though. You can paint that with almost anything. 🎨
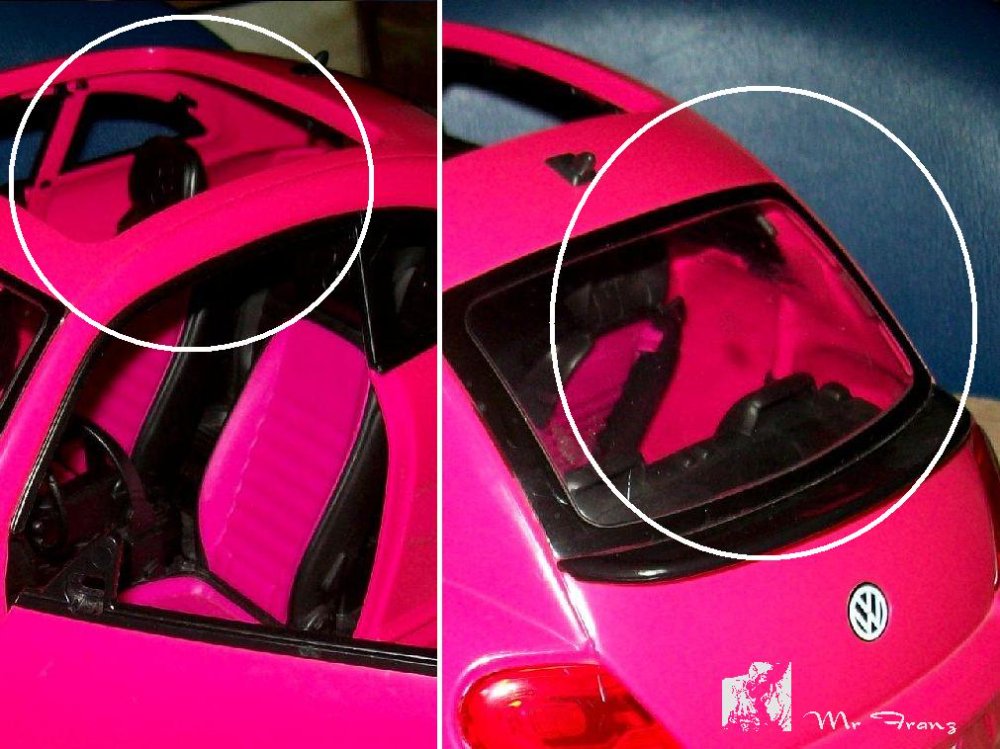
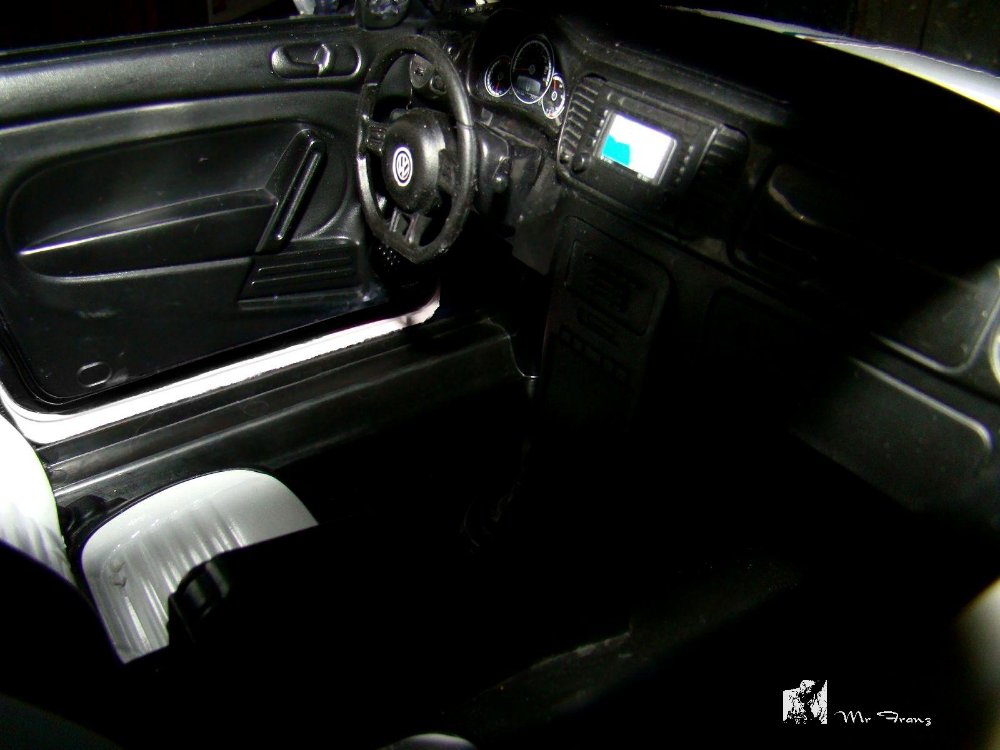
Alright with the initial sanding done, still have to sand out some mold imperfections and better define the natural seams, I can turn my attention to some of the details Mattel left out. Namely, except for the mock rear bench, the interior is completely unfinished behind the front seats. You can actually see the rear tires from inside the car! 😮
A little cardboard, some textured black duct tape... ta da... interior quarter panels! ✂️
There's also no side window glass. Easy fix though. Found a plastic bottle with just about the right contour. 🧴
Now then, about those missing side mirrors... Hmmmmm... these broken earbuds look about the right size. :unsure:
Yes and this shinny tin lid will make excellent mirror inserts. There, perfect! 🪞
Next time we'll start prepping the underside. 🙃